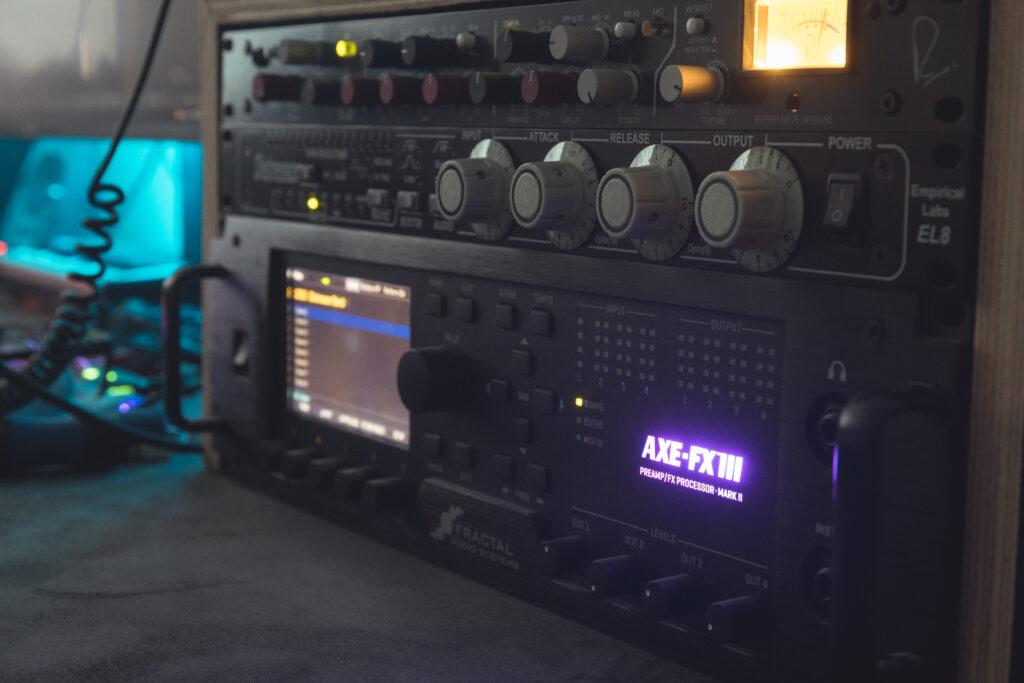
My Axe-FX 3 serves as my primary audio interface for recording given its pretty good (to me, at least) USB driver. Since this affords me the ability to re-amp the DIs I take from it during recording, I figured I should be able to leverage the same functionality to incorporate some external signal processors into my workflow. My intuition was correct, but it wasn’t as simple as I was hoping it would be: I couldn’t find any cut-and-dry posts on how to do this in any of my searching. So, hopefully this post will save someone else who’s trying to do this the hour or so of trial and error it took me.
Physical I/O Setup
To wire up my Distressor, I did the following:
- 1/4″ TRS to male XLR cable from output 3 of the Axe-FX into the XLR input of the Distressor (channel shouldn’t matter, I just used the left channel)
- Regular XLR cable out from the Distressor into input 2 of the Axe-FX (again, channel shouldn’t matter here)
I would imagine output 2 on the Axe-FX could be used in the same way, but given I only had one regular XLR cable on hand I haven’t gotten to try it out for myself.
Digital I/O Setup in Axe-Edit 3
This was the part where I wasted most of my time. Since I already had the routing configured in my DAW, I falsely assumed the driver would know what was going on and would do all the routing for me. I was incorrect!
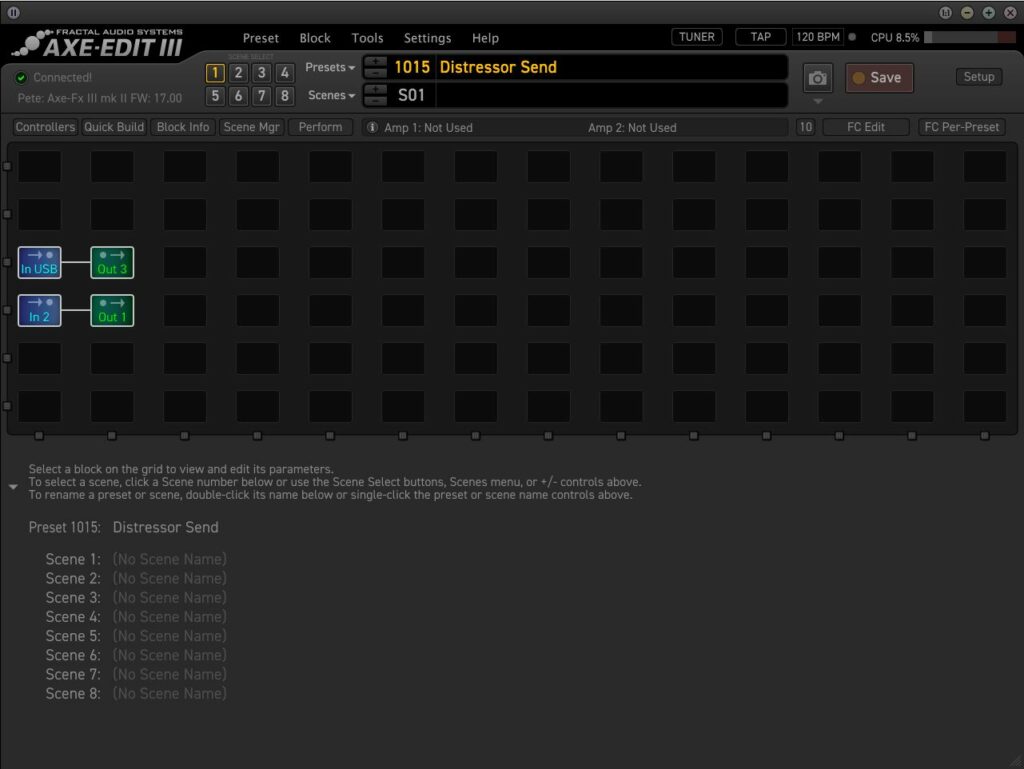
Annoyingly, you need to setup the routing in Axe-Edit 3. Since I wasn’t planning on using any of my external processors in tandem with the processing the Axe-FX is doing on my guitars, I opted to just make a dedicated patch in Axe-Edit that I activate any time I want to send audio out from my DAW to something to be processed, and then routed back into the DAW where I print the result.
Another area to be mindful of is the gain staging. Despite having the proper routing setup at one point, the signal being output was at such a criminally low level that even with the input dimed on the Distressor it wasn’t triggering anything. Double check the output block associated with the output you’re using to route the signal to your external gear and adjust the level as appropriate.
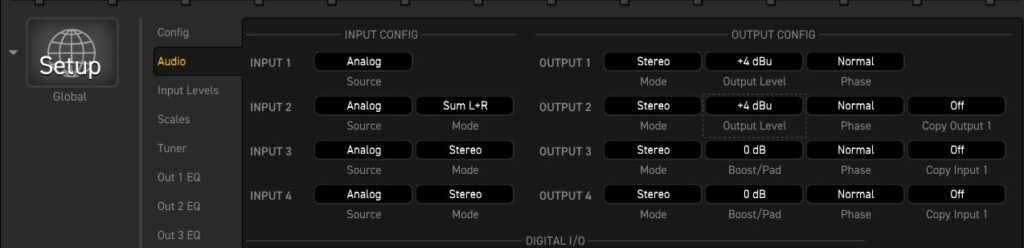
In the “Setup” menu, you’ll need to make sure you change the mode of whichever input you’ve used to be a sum of the left and right channels instead of stereo, assuming you’ve only plugged in one channel from the return of your outboard equipment. If the output from your equipment is stereo and you’ve plugged in both channels of the chosen input, you shouldn’t have to worry.
Routing Setup in Cubase 10
If you’ve already been re-amping using your Axe-FX, you’ve most likely got this setup already in a similar fashion. If not, all that should be needed is the addition of an output that is routed to Out 7 / Out 8 in the Axe-FX driver, which correspond to the “Input USB” block of the Axe-FX’s digital I/O.

It may be worth mentioning that you can achieve a similar result with the “External FX” menu, where you would add your hardware and pick the Out 7 / Out 8 outputs. However, Cubase only allows one or the other, not both, so if you try to add an external effect using an output that’s already been mapped, you would have to overwrite the exist mapping. Given that I have this configured for easy re-amping, I elected to go this route instead. It makes the subsequent process of working with the processed signal from the external gear a little more convoluted, but it’s nothing I figured I couldn’t work with.
Sending Some Audio
With all the setup taken care of, the process to send audio to your outboard gear should be as simple as changing the output on the track to whatever you named the output in the last step (IE: “Axe-FX Out”, as in my example). If your gain staging is appropriate, you should see whatever you’d expect to see from your gear when it’s fed a signal.
From there, I make a new track and then record the resultant audio coming back into the Axe-FX which then leaves me with a printed copy of the processed signal.